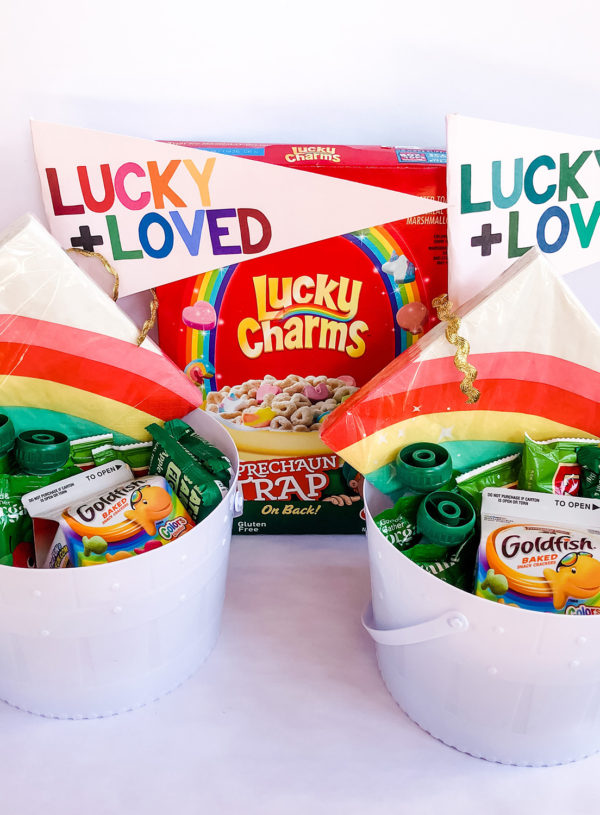
St. Patrick’s Day Gifts for Kids from Target
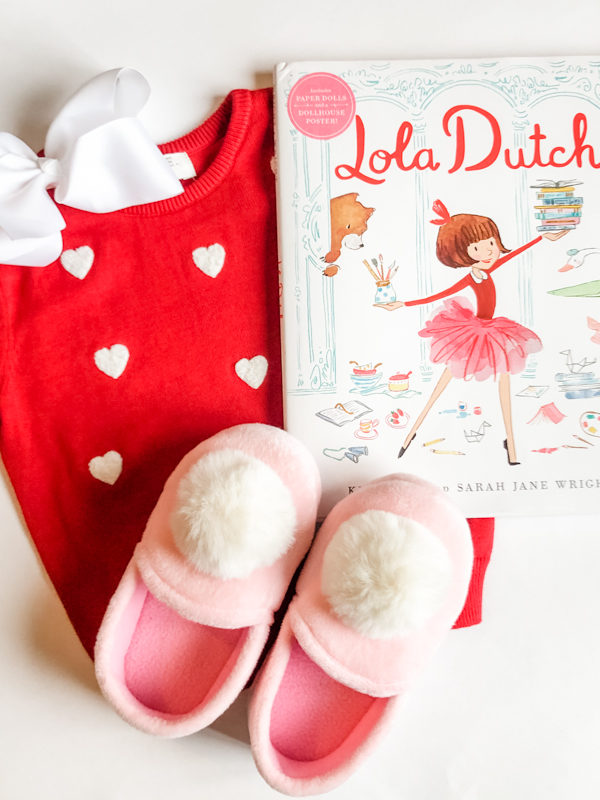
Valentines Day Gift Guide for Toddler Girls and Boys

50 Things I Love About You Photo Book Valentines Day Gift
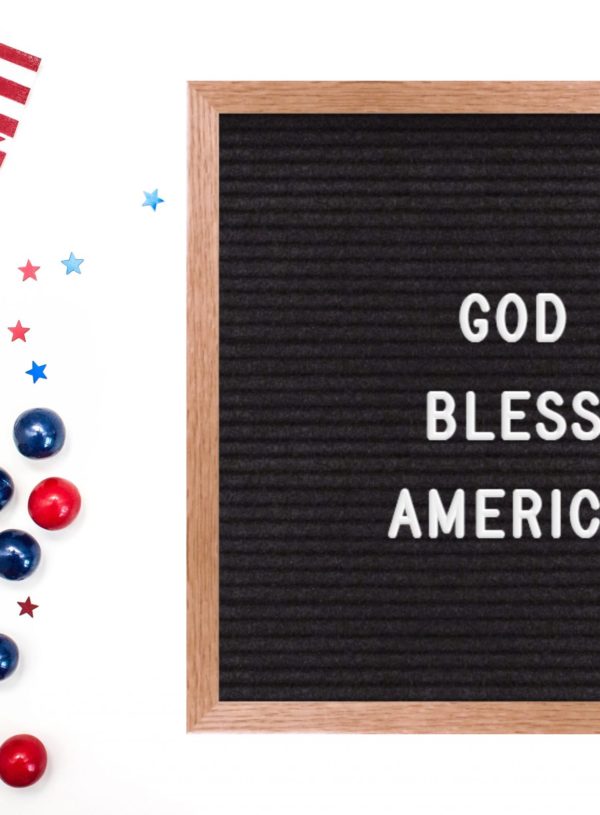
36 Patriotic Fourth of July Letter Board Sayings & Ideas

Red, White and Wine: A Fourth of July Themed Happy Hour

Building The Ultimate Gingerbread House
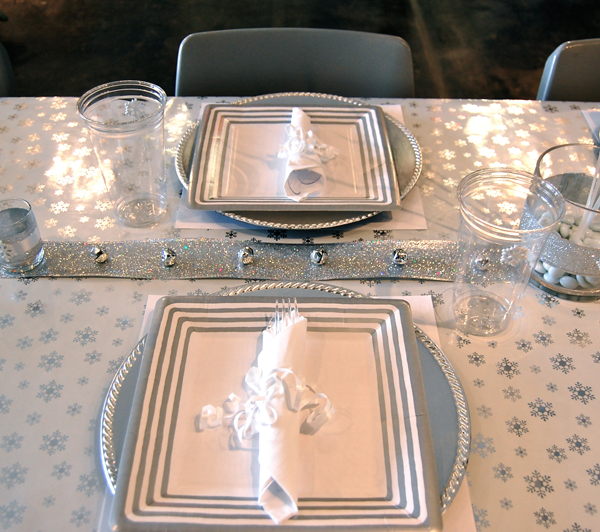
Winter Wonderland Themed Company Christmas Party on a $50 Budget

Bunny Love: How to Fold a Napkin into a Bunny

Guest Post: Bunnies, eggs and faith!

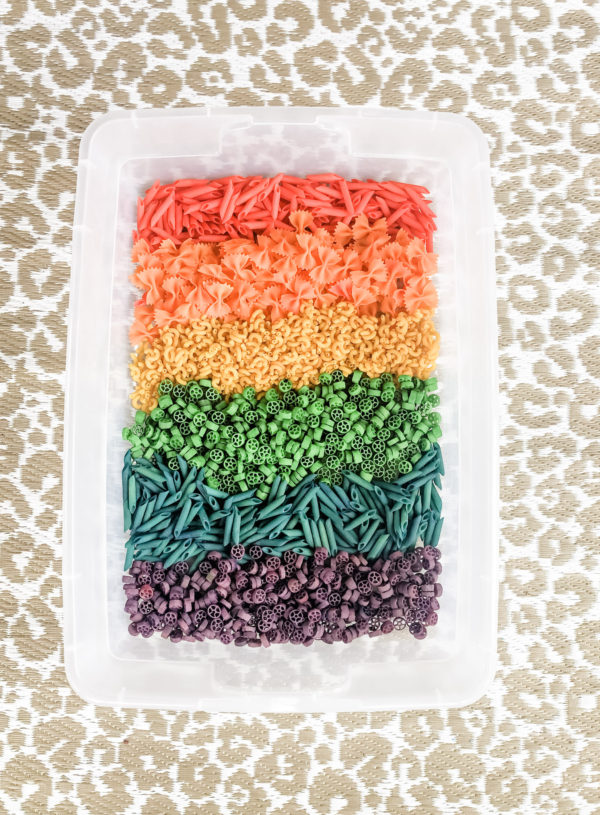
Taste the Rainbow! How to Make a Deliciously Colorful Cake